Circular flatness measurement

Round and round we go

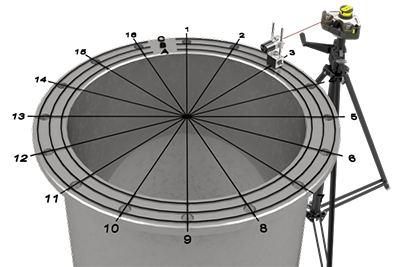
This application uses a laser plane as reference. The deviation in distance between the laser plane and the measurement object is measured in one or more positions with the use of the receiver. The program allows for up to three circles with 99 points in each circle to be measured.

A typical application is the measurement of flanges and circular machine foundations.

See our technology in action.

Schedule a free demo to get a first-hand look at how our solutions support your business.

How to do a circular flatness measurement


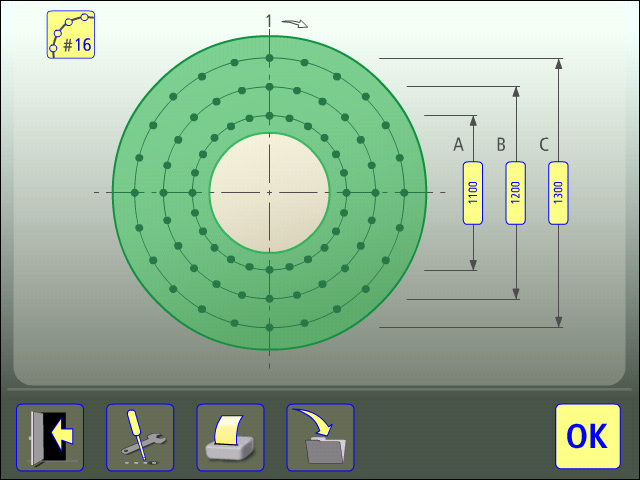
1. Configuration

  • Quick and easy to configure
  • Pre-defined configuration

2. Measurement

  • Distinct overall view of the measurement
  • Instant display of measurement object’s position
  • Color-coded measurement points
  • Measurement points can be registered in any order you prefer

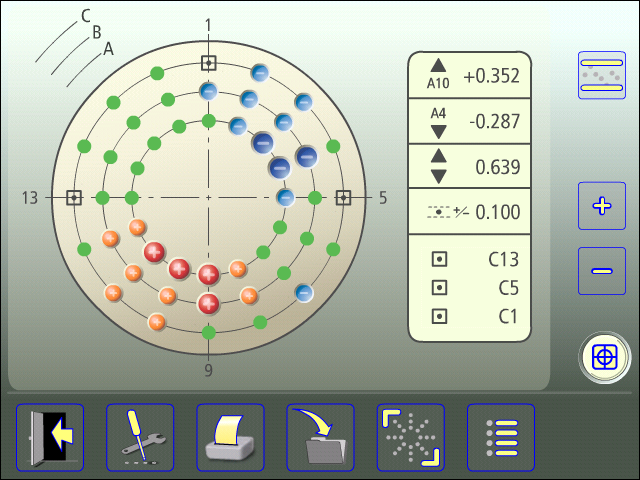
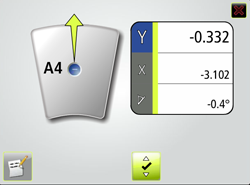
3. Adjustment

  • Live values during the adjustment phase
  • The angle guide displays the accepted (green) measurement point registration area
  • Green arrows show you in which direction to adjust towards zero
  • Color-coded measurement values

Title

Lorem

Request pricing

Connect with Acoem

Contact us to learn more about our solutions, services, and training programs.

Would you like to…?