Straightness measurement

Straightness with an edge

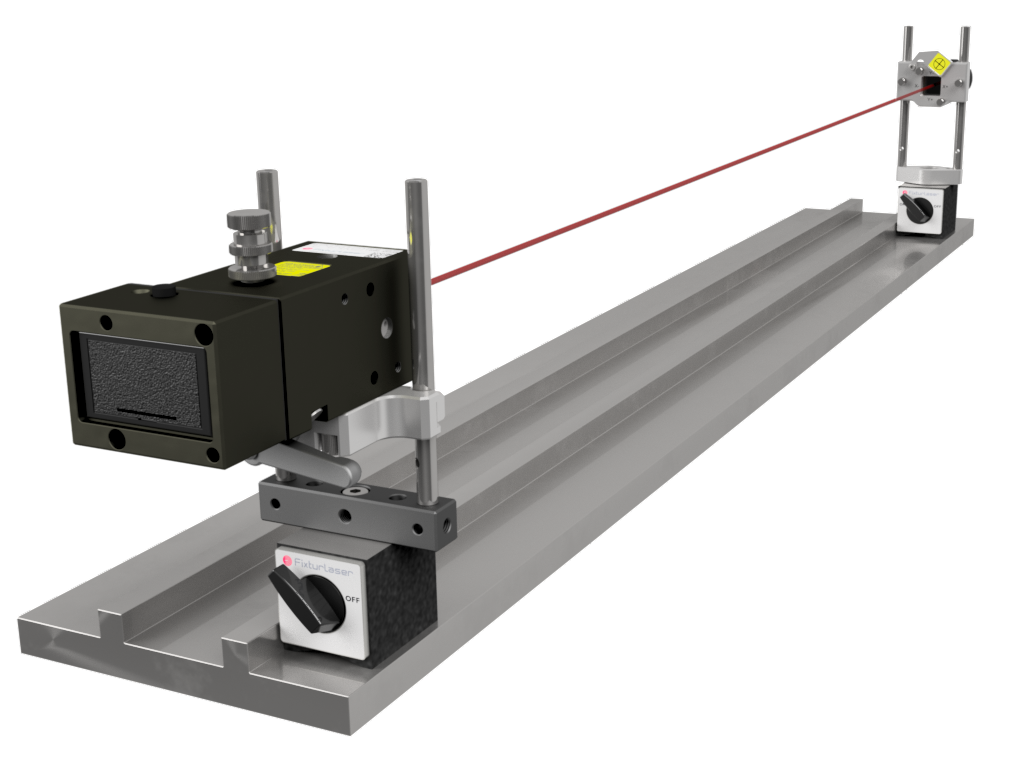
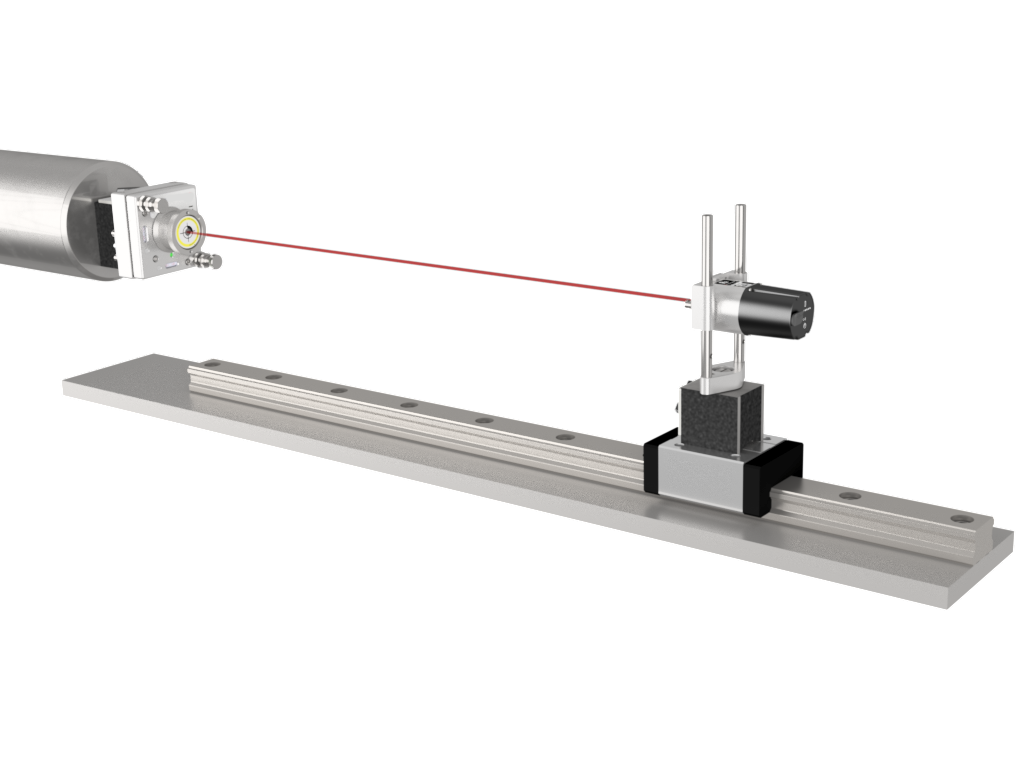
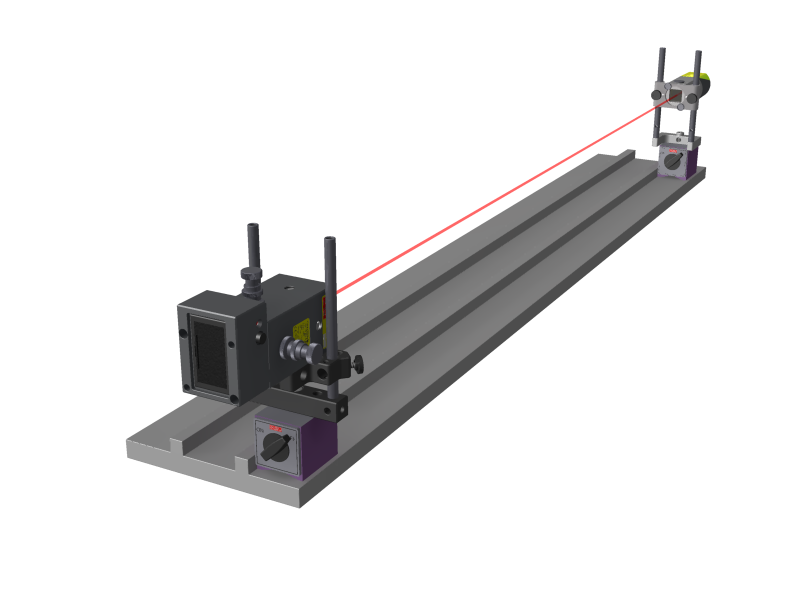
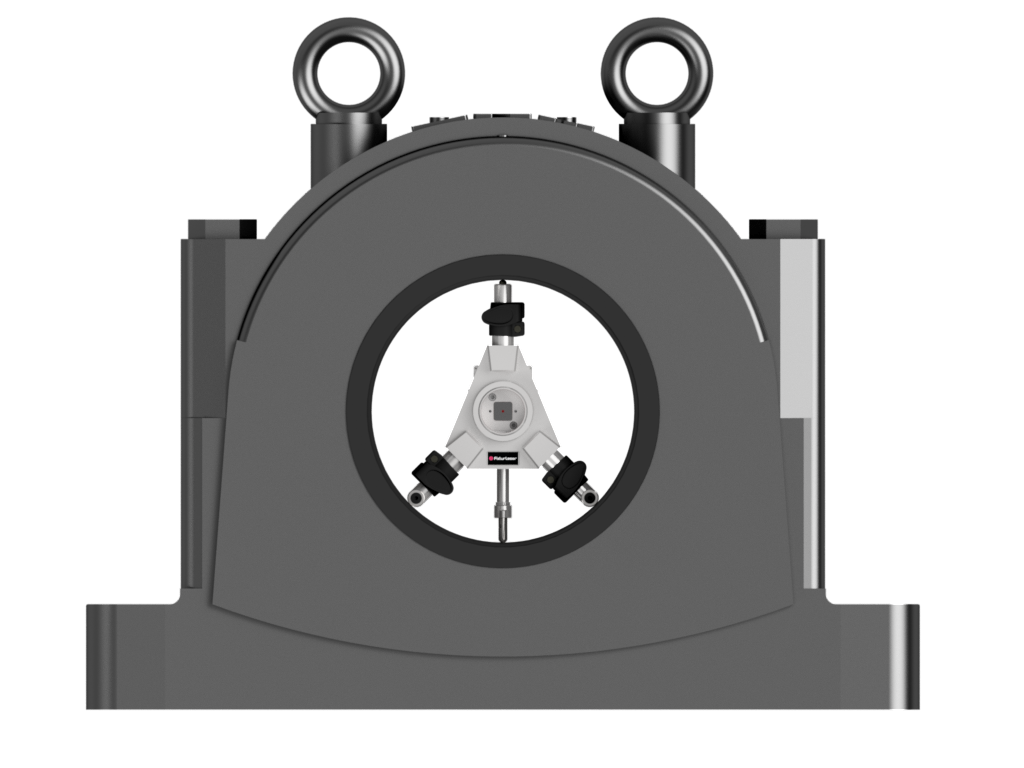
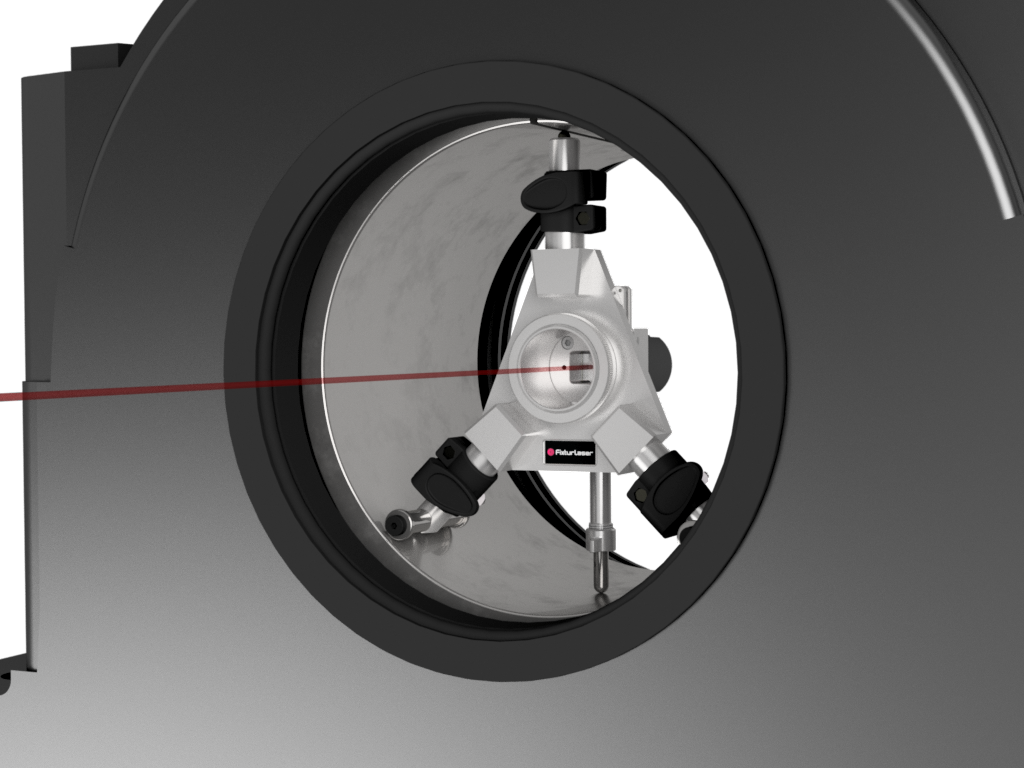
The straightness application is measured in two axes, where the laser beam is used as a reference. The deviation in distance between the laser beam and the measurement object is measured in two or more positions with the use of a receiver.

See our technology in action.

Schedule a free demo to get a first-hand look at how our solutions support your business.

What does the program do ?

The program allows for up to 99 points to be measured.

Typical straightness applications are measurements of machine guides, machine beds, machine ways, and guide rails.

How to do a straightness measurement

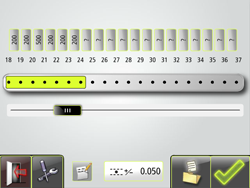
1. Configuration

  • Quick and easy to configure
  • Pre-defined configuration

2. Measurement

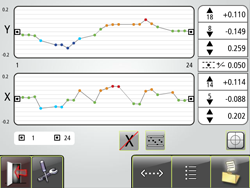
  • Distinct overall view of the measurement
  • Instant display of measurement object’s position
  • Color-coded measurement points
  • Measurement points can be registered in any order you prefer

3. Adjustment

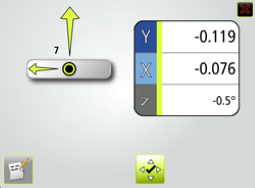
  • Live values during the adjustment phase
  • The angle guide displays the accepted (green) measurement point registration area
  • Green arrows show you in which direction to adjust towards zero
  • Color-coded measurement values

Applications

Discover Acoem’s case studies

Title

Lorem

Request pricing

Connect with Acoem

Contact us to learn more about our solutions, services, and training programs.

Would you like to…?