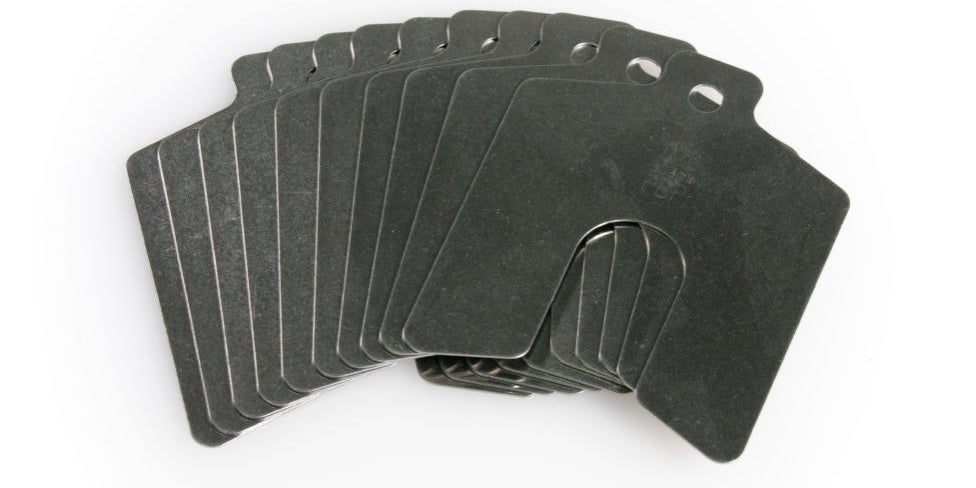
Shims of the same size can vary in thickness so slightly that the difference is not visible to the human eye, but it will be visible when you recheck your machine’s alignment. This variation comes from the manufacturing process – shims are made from large coils of stainless steel and sometimes the coil is produced ever so slightly thicker or thinner on one side, ultimately producing almost undetectably differently sized shims. Shims have tolerances the manufacturer works within, and it is not economically feasible for the manufacturer to check each shim, so occasionally shims that are a bit off in size end up distributed for sale.
Another reason your shims may not be properly aligning your machine is because you are using old shims. Over time, shims will develop burrs, crowns, and corrosion, effectively changing the thickness of the shim. Shims may also lose their label over time, meaning you are guessing on the size of the shim. Test
Shims can also be impacted by human error. Adding a shim that is 0.01’ off to the stack of shims is easy to miss when you are adding the shim, but you will notice when you are rechecking your alignment. To combat this, we recommend you place the shims you will need for each foot next to or on top of the machine near the foot. Make sure to double check each stack for the correct shims.
So, how do you combat wear and tear, manufacturing variations, and human error? Simple – mic your shims before alignment! A quick check using a micrometer or caliper will give you the exact size of the shim so you will get an exact stack of shims, every time. Remember, when you mic the stack, you’ll be exact!
Have questions for us on aligning your machine? Connect with us to learn more!


