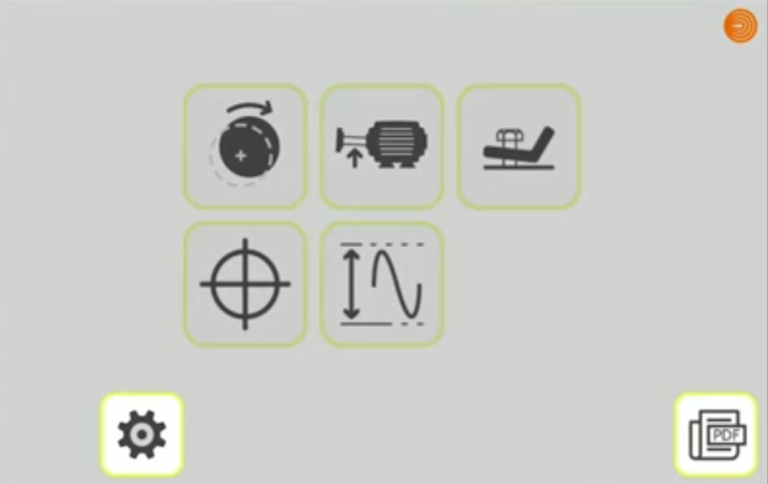
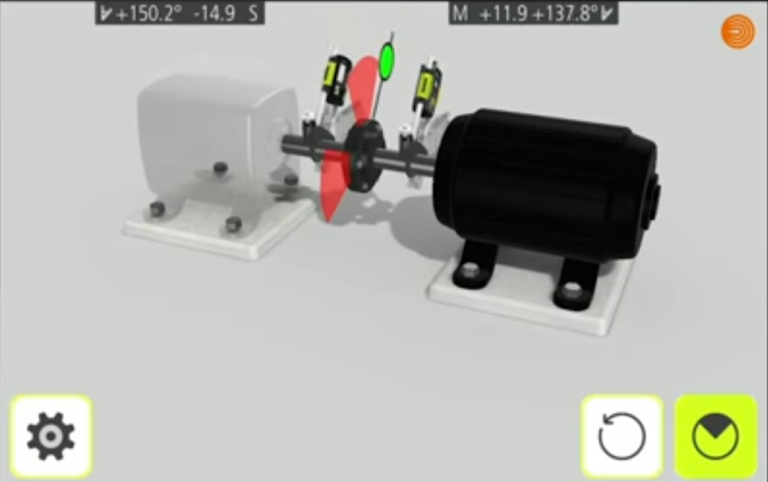
Our recommended basic Pre-Alignment measurements are rough-in, soft-foot, run-out, pipe-strain, and a lift check on the shafts to check for excessive bearing clearance. We typically take these measurements with dial indicators, feeler gauges, and even shims. In the past all Pre-Alignment reporting has been handwritten which left room for “pencil whipping” reports from lack of time or frustration in the measurement process.
At Acoem, if we get 100 technical support calls about unrepeatability or a laser system not measuring correctly 99 of those calls are solved by identifying unintended movement issues that would have been discovered, corrected, and reported on if basic Pre-Alignment steps had been completed before the laser alignment system was mounted on the shafts.
What if, there were a digital, wireless measuring device, with easy to follow instructions, and quick & easy reporting, that could take all the Pre-Alignment Measurements listed above.

What if that same tool could also be used for your precision laser shaft alignments with the most advanced digital laser heads on the market and combine those reports?

True Pre-Alignment measurements and reporting with True Precision Digital Laser Shaft Alignment is together at last. You should not preform Precision Shaft Alignment without Pre-Alignment and it’s hard to disagree with that.
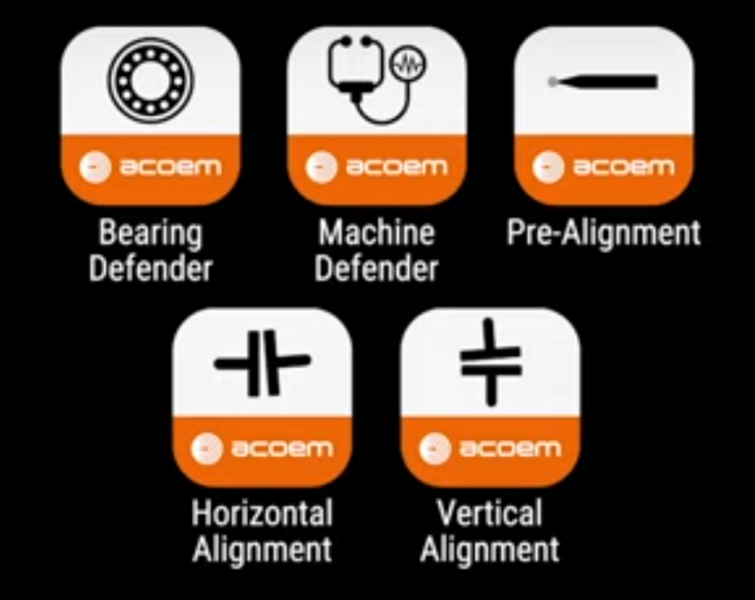
Acoem released the new RT-300 tool this month and it is the ONLY tool on the market that truly does Pre-Alignment and Precision Alignment in the same “box”. Also, there are 2 other tools we haven’t mentioned for Machine Health Diagnosis and Bearing Health Diagnosis to check when the machine is online and running.

For more information on the RT-300


